Last time, we covered how to use TORTOISE’s DIFF_PREP tool to preprocess Diffusion Weighted Images (DWI) to correct for eddy currents, motion, rotate the b-vectors (alongside the motion correction), and optionally correct b-splines if we used a T2-weighted structural image. The next step is to use DIFF_CALC to fit tensors, inspect the results, measure ROIs, or in most of my cases, export the data to another software. Because there are so many features, I’m only going to cover some subset in each blog post.
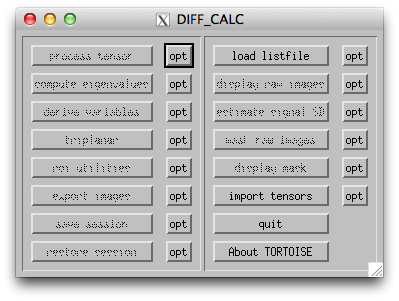
The first thing you will notice about DIFF_CALC is that the user interface is fairly spartan looking. Don’t be fooled, as part of TORTOISE, this application has plenty of power and is full of features. The second thing that you may notice is there is a tiny floating window with one button for “sensitize the buttons”. Whatever you do, don’t close that tiny floating window, it will help you recover later if you accidentally close a window without clicking “Done”.
Next you want to load your “List File”, which was generated by DIFF_PREP from the previous post. Click “load listfile” and navigate to the directory that was created with DIFF_PREP (often ending with “_proc”). You will see at least three possible files ending with “.list”. To make reading this more clearly, assume that my original Diffusion image was called dwi.nii. DIFF_PREP would have created a folder called dwi_proc and within that would be three lists called 1) dwi.list, 2) dwi_up.list and 3) dwi_DMC.list. These represent the 1) original (read: uncorrected) data that was imported, 2) the original data after it was up sampled by DIFF_PREP, and 3) the up sampled data with all of the corrections (motion, eddy, and b-spline).
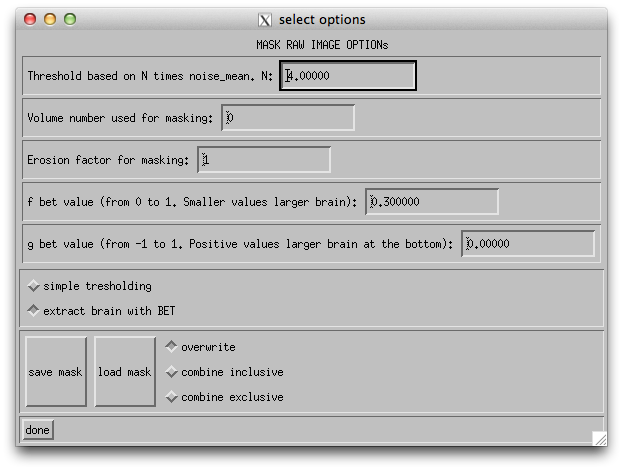
You likely want to calculate your tensors on the corrected data, so select your _DMC.list file. Several more buttons will become available in the DIFF_CALC user interface. I would recommend the first thing that you do is click “mask raw images”, this will specify the tensors that you will fit later only happen in the masked out brain regions. If you click the “Opt” button next to “mask raw images”, you will see that there are some options for how you wish to apply the mask. You can use bet (from FSL) or you can do thresholding. Often I have excellent luck with the default settings.
Note: If you happen to close the window using the close button in the top of the window, you will notice that you’re locked out of the user interface. Here’s where clicking the “sensitize the buttons” button will save you and restore your access to the user interface.
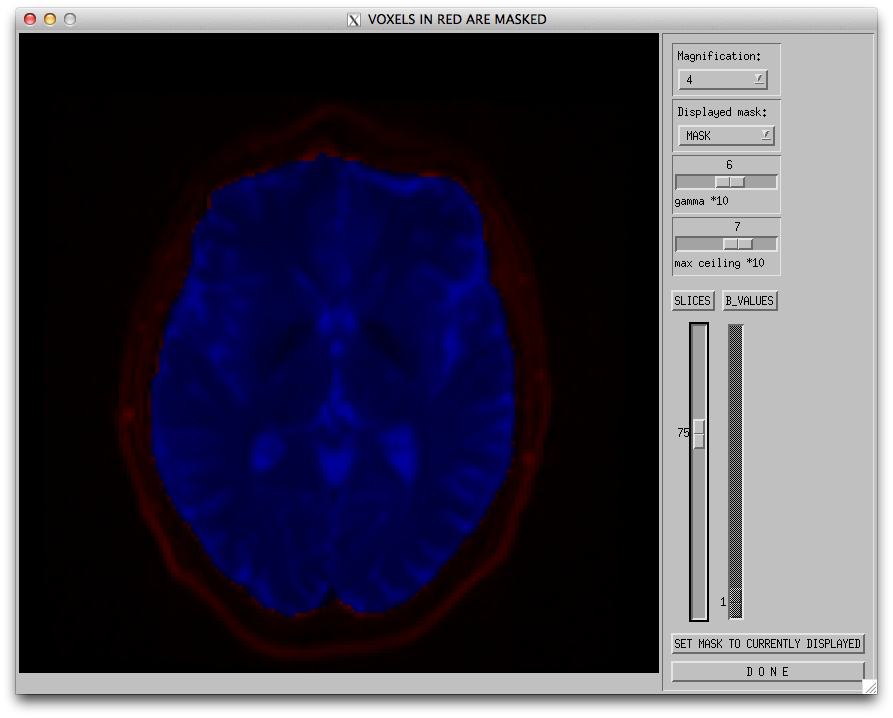
Now that a mask has been created, you can verify the mask using the “display mask” button. This will display the window below where the mask includes regions in blue and excludes regions in red. If the mask is not where you want it to be, go back to the mask options and try a different threshold.
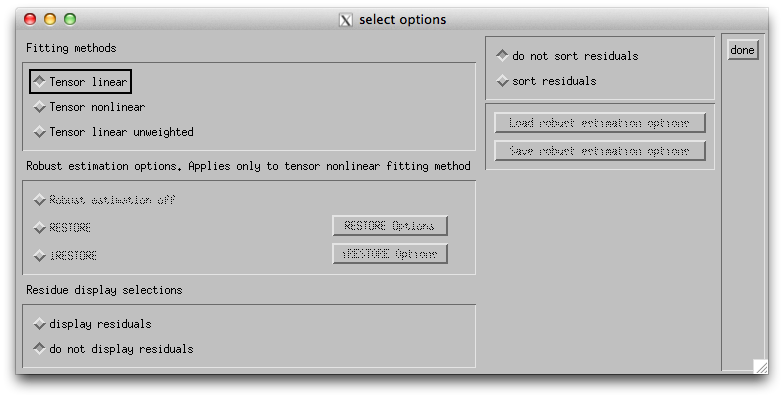
At this point, you can start to actually fit tensors! Click the “opt” button next to “process tensors” and you will see the window below, which allows you the option of doing linear and nonlinear tensor fitting. You can also do fits via RESTORE and iRESTORE. For the money, the nonlinear estimation is often recommended over the linear and costs you only marginally more time for the estimation. I also find it useful to display the residuals and to sort them! It’s important that now that you’ve setup the options, you push the “process tensors” button on the main window.
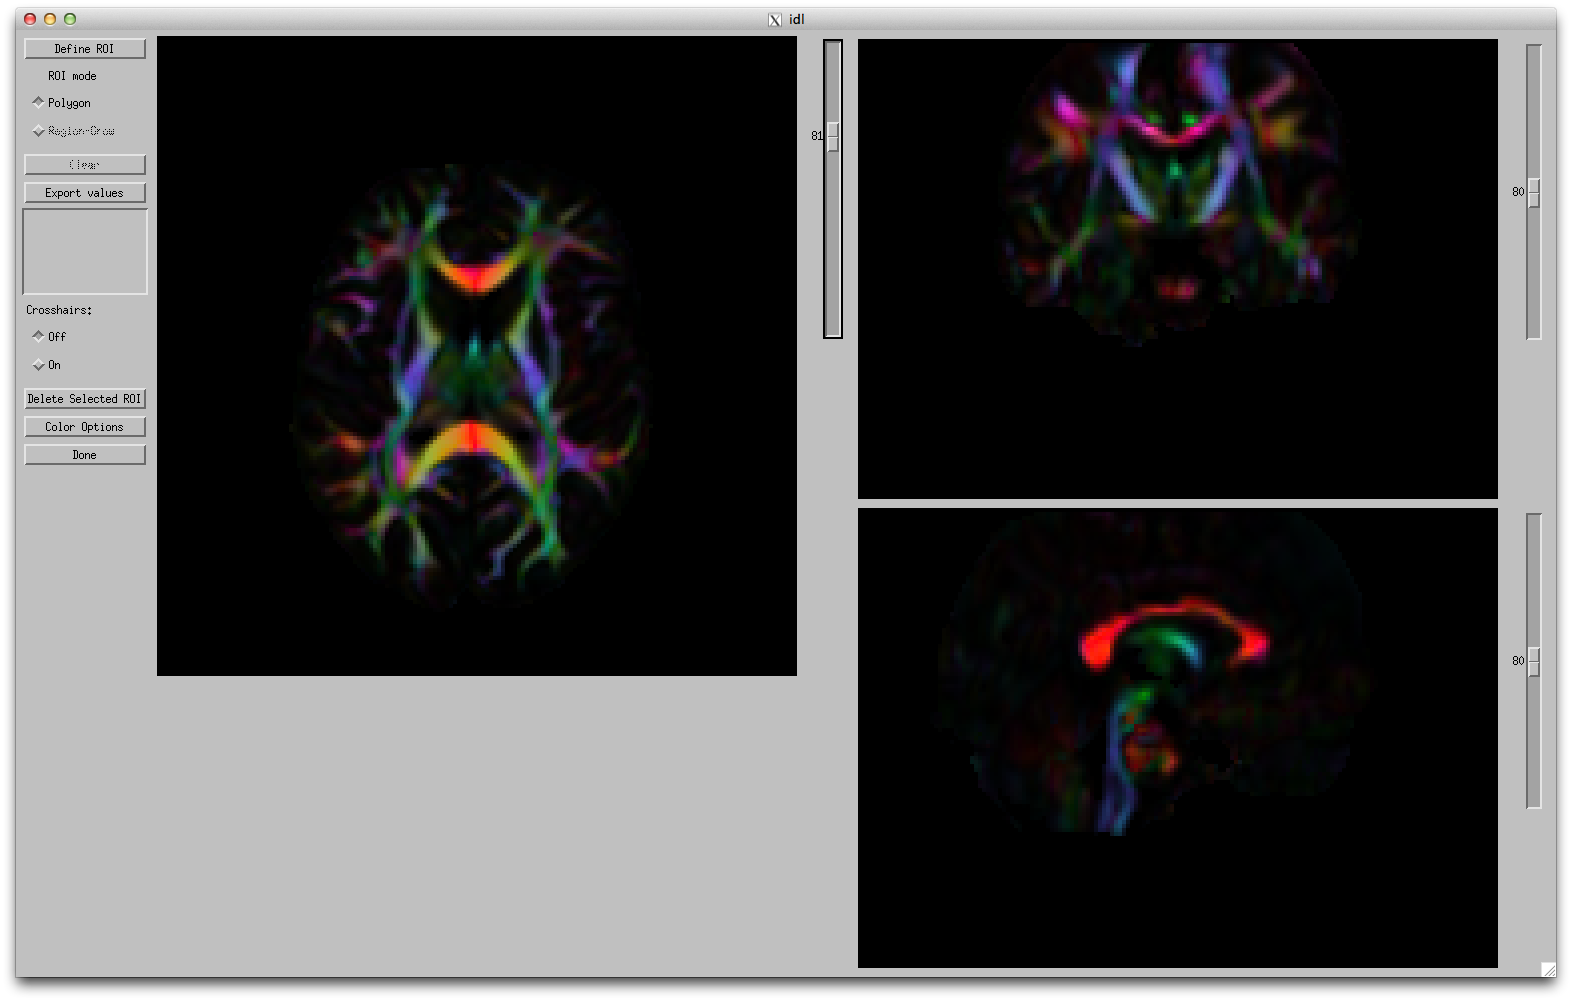
You can now view the resulting tensors (and DTI related metrics like FA) using the triplanar viewer shown below. The viewer has an assistive panel allowing you to choose the metric that you view including the Eigen values, structural, and shown below is the DEC map that we have all come to know and love through publications.
Once I view the data briefly in this viewer, I usually take the estimated tensors and export them for use in AFNI using the dialogue below:
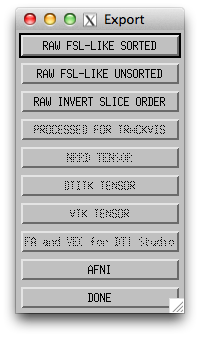
But you can also export them for use with TrackVis and other formats. The AFNI export sends out NIFTI files that go into your _proc directory (in my case dwi_proc), and can be found in a sub-folder. The AFNI export is already named correctly for use with the tractography programs (e.g. 3dProbTrackID), which will be the topic of an upcoming post.
Carlos R. Cortes
/ March 20, 2014Dear Dr. Molfese,
I’m new to DTI and more than a comment, I have a question:
I did the whole preprocessing using TORTOISE; In order to run probtrackx in FSL what do I need to do?
Thanks in advance,
Carlos
pete
/ March 25, 2014Once you have run DIFF_PREP in TORTOISE, you can use DIFF_CALC to load the _DMC.list file and do an export to FSL. It should create all of the files you need to then begin the bedpost process.