Quite a few tools for processing MRI data take considerable amounts of time to run, even with computer hardware getting faster and cheaper daily. I have previously discussed how to queue up multiple Freesurfer jobs with GNU Parallel in order to automatically queue and dispatch a number of Freesurfer processes simultaneously. But what do you do if you’re working remotely? Quite a few people might consider driving into the office just to start the next batch of processing, but hopefully after reading this post, you won’t feel compelled to visit the office just to start more processing!
It’s likely that you’ve at least heard of the first two options (VNC and SSH), but I’ve found that the third option (Screen) is less common and most people haven’t heard of nohup, perhaps because it’s “old school”.
Remote Screen Sharing / VNC
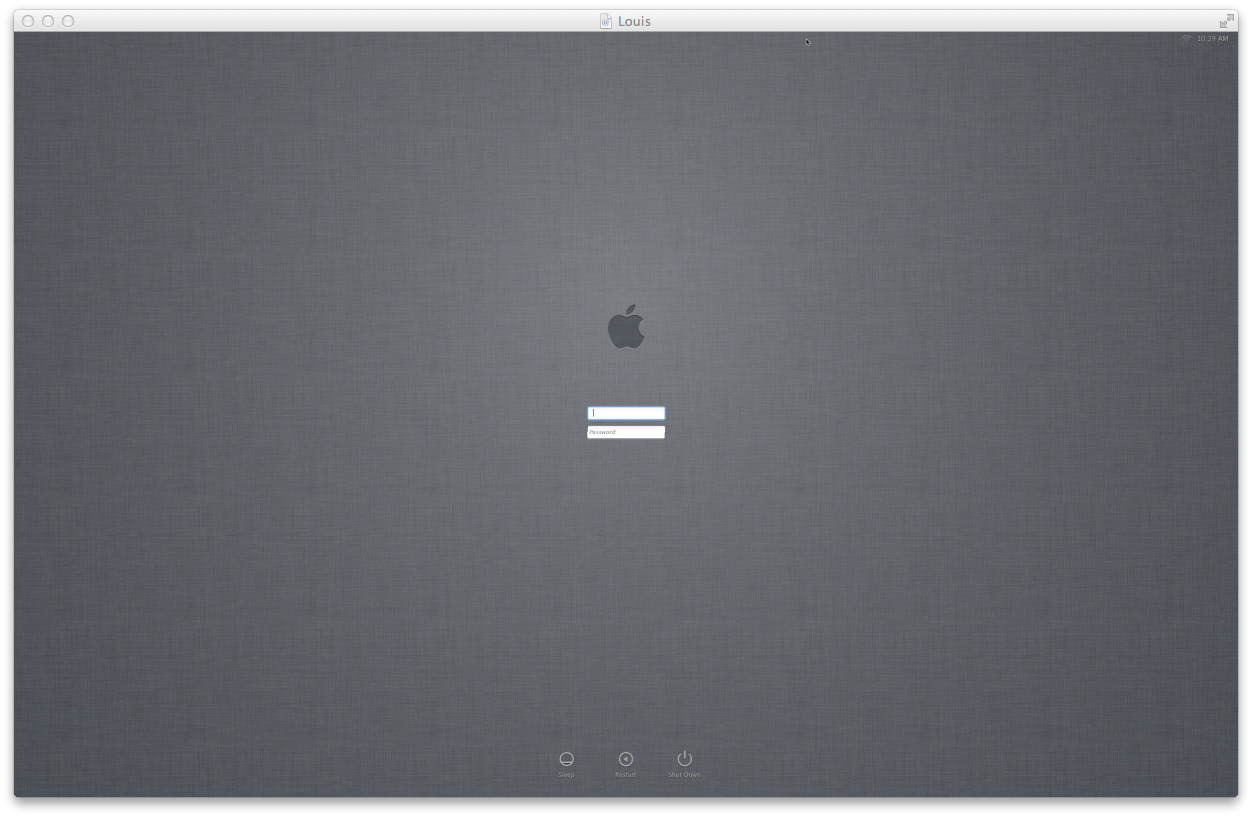
Remote Screen sharing (Mac), remote desktop connection (Windows), or VNC (Mac, Linux, Windows) allows you to view your desktop as if you were sitting directly in front of the computer. This is particularly useful because it’s like bringing your computer home with you! If you have a Mac, you can simply turn on Screen Sharing in System Preferences –> Sharing. If you want to connect to the Mac from computers running other operating systems (e.g. Linux), be sure to click where it says “Computer Settings” in the sharing “control panel” and select VNC Viewers may connect… Set a good password! Now to connect to your remote computer you can launch Screen Sharing from the finder (/System/Library/CoreServices/Screen Sharing). I like to put a copy of the application in my Dock. When it asks you what to connect to, simply enter the IP address of your work computer. At some places you may need to setup VPN access, ask your local IT person. Once you connect, you should see your desktop or login window (below).
If you are running Linux, I recommend using apt-get, yum, or another package manager (e.g. emerge for Gentoo) to install VNC. For most major linux distributions, the VNC Client that you use to view another computer is separate from the VNC Server that you use to share your desktop to others. You can often use the package manager to install both and configuration is often fairly straightforward.
Secure Shell (SSH)
SSH is a method of connecting via the command line. The command line is nothing new to most people using MRI software, but you may not have connected to another computer using the terminal or “console” (different terminology). The upside to SSH is that it uses relatively little bandwidth compared to VNC/Screen Sharing so that you can connect and get real work done, even with a slow network connection. To turn on SSH on the Mac, turn on “Remote Login” in System Preferences –> Sharing. Then connect via:
ssh username@ip.address.or.dns.name
Replace the IP address or DNS name with the appropriate value for your computer. The system will ask for your password and then grant you access to the shell, just as if you had opened Terminal on your own computer. From here you can see who else is logged on by typing “users” (no quotes) and pressing enter. You can also see how your processes are doing by typing “top -u” (no quotes).
If you wanted to start a new process, you could do so via SSH just as if you were sitting in front of the computer. The caveat is that if you close that connection, the process will stop! And for a process like Freesurfer that takes 12-24 hours, that’s really going to put a damper on things. So you can either add “nohup” to the beginning of your command which will just append everything to a file called nohup.out, and then close the window, for example:
nohup recon-all -s MySubject -i /path/to/MPRAGE.nii.gz -all -qcache -3T
And if you start a new SSH session, and view top, you will see Freesurfer crunching that brain taking up one processor. You could of course repeat this or use GNU Parallel alongside nohup to queue your tasks and then close the window. Either of these should work well for you. But there’s on other alternative that is really the entire reason I’m writing this blog post today.
The Screen Utility
The screen utility allows you to essentially start an SSH session and then keep it going even after you have closed the window. I also like to call Screen the ultimate way to bother your IT systems admin because it will continue to show you logged in, making it harder for the IT staff to know when to reboot a computer. But here’s how it works. Start an SSH session into your remote computer and type “screen” (no quotes). You may not have noticed anything change or you may be greeted by a message about screen. Press space to get rid of the screen welcome. Now you’re essentially in a shell inside of screen. You can use this shell just like any other shell, so go ahead and start a freesurfer job as if you were sitting in front of the computer:
recon-all -s MySubject -i /path/to/MPRAGE.nii.gz -all -qcache -3T
Now that process is running and you see text going across your screen and you’re feeling good about things. But you now need to disconnect and you don’t want Freesurfer ot quit. Well if you just close the connection inside of Screen, everything will keep running. A cleaner (nicer) way to do this is to use your new Screen commands to detach from that particular instance of the shell. Type Control+A (this tells Screen you want to talk to it and not to the shell) and now press D (upper or lowercase). This will detach you from the current shell and your process will keep on running.
The reason to use Screen instead of nohup is that you can reconnect to your remote computer (from any computer) via SSH and pickup your session where you left off. To do this, SSH back into your work computer and now type “screen -ls” (no quotes) and you will see something like the following:
There is a screen on:
 88057.ttys003.frankenstein (Detached)
1 Socket in /var/folders/ng/zpkm15497dd9d6x2sc96zsbm000c5p/T/.screen.
This shows you that there is one Screen session running on my machine Frankenstein. To connect to that session you just need the name of the session and call screen with the -r flag. Like so:
screen -r 88057.ttys003.frankenstein
And now you are reconnected and you should see the Freesurfer output continuing to scroll across the screen (or if you waited long enough perhaps it is done). If you find this helpful or interesting, you can read more about screen here. Or use the magical powers of Google.
Summary
So there you have it, three (or more) ways to connect to your work computer to start new processing without having to physically be in front of the computer. I would say that major advantage of using Screen is that you don’t have to be controlling a remote screen, so people won’t begin to think that their computer is possessed when the mouse just starts moving. It’s also worth noting that GNU Parallel will work inside of a screen session and that you can pair the two together. The advantage to using Screen + Parallel is that if you wish to cancel a process, it’s considerably easier than killing Parallel + nohup!